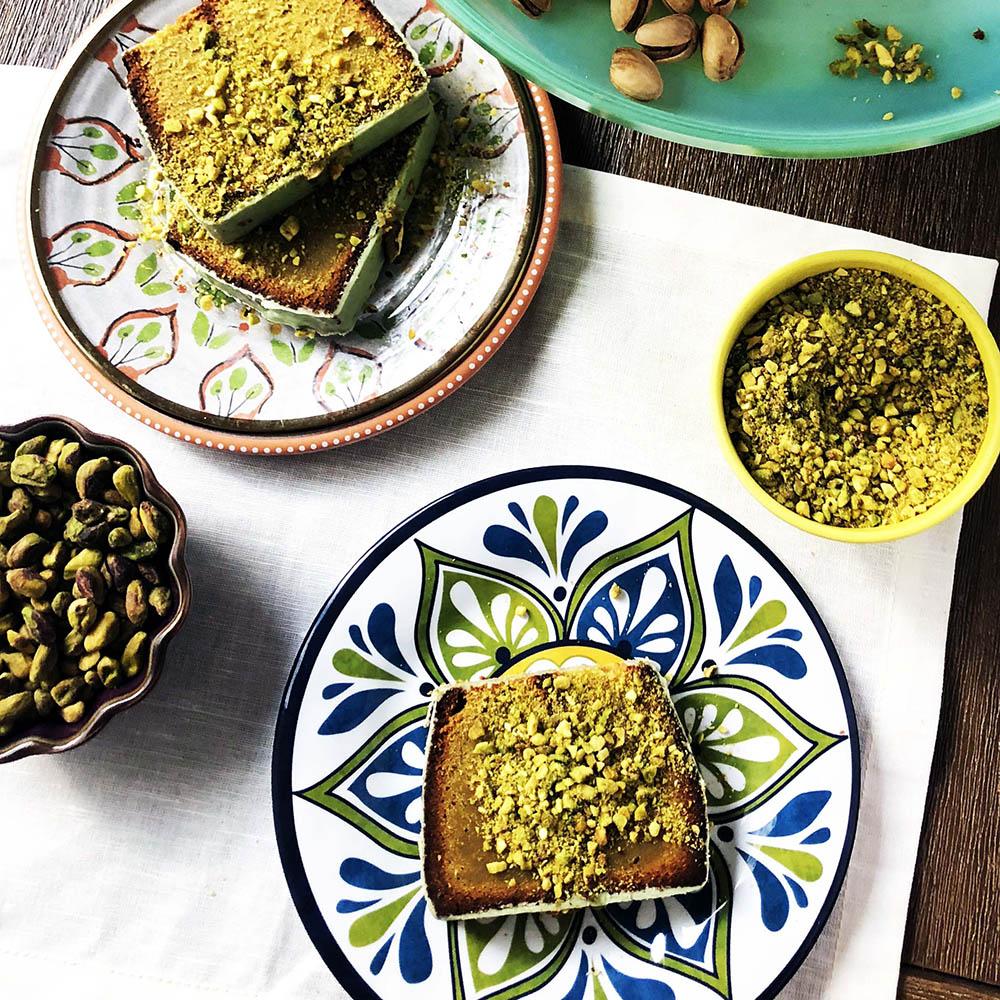
Instagram has always been the spot to document an artful brunch, but chances are you saw more food snaps than usual this past year (just a few short weeks into the pandemic, the search term “bread” hit a record high on Google). Scroll through your feed (pun intended), and you’ll see endless photos of rustic loaves of sourdough, artfully whipped TikTok coffees, and slices of banana bread befitting the pages of a glossy magazine.
Seems easy enough to do, right? If you’ve tried it, you know this isn’t the case. Even a dish worthy of Gordon Ramsay’s highest praise can look kind of…gross…in a photograph.
So, if you want to document your lockdown creations but your photos look more like a Nailed It! outtake than a post deserving all the heart-eye emojis, read on.
Turns out, the key to good food photos isn’t elaborate ingredients or a fancy camera with all the bells and whistles. It’s really just a few photography hacks, according to Lauren Cheong, professional food photographer and instructor at GTA Photography Classes. At a media event for Wonderful Pistachios, she clued us in on how to take better Instagram food photos with just a few simple tricks. (To make capturing the perfect food pic as easy as pie, we’re revisiting this interview from June 2018.)

1. Think Like Goldilocks
When it comes to the exposure, you don’t want to go too dark or too light, but rather just right. An underexposed picture can appear muddy, while an overexposed photo can just look like a whiteout. “Exposure is important, because it’s how we can control how much detail you see,” says Cheong. You need some darkness to create dimension, but you also want enough brightness to see the finer features.
Food photo hack: In your iPhone camera app, tap the screen where you want the focal point to be (this keeps the area sharp-looking). Then drag your finger up or down to adjust the exposure. On Android phones, tap the cog symbol; exposure is in your options. Again, you can dial it up or down as you like.
You can also try the HDR mode on your camera app: “This takes three images with your phone at different exposures, and it merges those photos to create one photo with the best detail,” says Cheong. It works well for bright conditions.
2. Follow the Rule of Thirds
When aiming your camera, you might instinctively put the subject of your photo smack dab in the middle of the frame. Instead, put it slightly off-centre—so it sits at the one-third mark of the frame. The rule of thirds “creates a photo that’s more visually interesting,” says Cheong.
Food photo hack: If you need a little help visualizing where to line up that layered fruit smoothie, turn on the rule-of-thirds grid on your iPhone (see Settings > Camera > Grid). On Androids, turn on the Grid option after you tap the cog.
3. Keep It Simple
When it comes to food, complicated table settings can just look cluttered and messy.
Food photo hack: Bring your phone in closer to the subject. “It will make it a simpler, cleaner shot.” Also, you can put a distracting background out of focus with a blur effect: within Instagram, you can do this using the Tilt Shift option when you edit your photo.
4. See the Light
Both your camera flash and direct sun are “hard lighting,” says Cheong. These will make your photo more dramatic, with high contrast. “Soft lighting” is an indirect light source, or light that’s filtered or diffused (for example, through gauzy white drapes). This will light your photo more evenly.
Food photo hack: Unless you’re going after the stark-shadow aesthetic, soft natural light works best. It’ll make your brunch eggs a pretty white. The closer your subject is to the window, the more dramatic the shadows will be. If you still need some help with reducing the shadows, placing a piece of paper on the opposite side of your featured food item will bounce and reflect the light.
5. Know Your Angles
Try shooting flat foods from above, and dimensional foods on an angle. “It helps you show off the subject,” says Cheong.
Food photo hack: Bowls, spoons and piles of food look better overhead, as does charcuterie. Simply hold the camera above the table, keeping your phone straight. If the angle is too high, use selfie mode so you can see the photo easily.
6. Go Steady
When tapping, toggling and sliding options on the screen, there’s a chance you’ll move your phone—with blurry consequences.
Food photo hack: Sure, you could invest in a tripod, to really capture the effort you’ve put into your bento box. But you could also snap the pic by pressing the volume button. “[It helps] especially if you’re taking a horizontal shot and need one hand to hold the phone sideways and the other hand to take the photo,” says Cheong. “It allows you to be more steady.” On an Android, go to Options > Volume Key > Camera Key. You can also use the volume on your cord earbuds, too.
7. Fine-tune Later
Unlike airbrushing celebs beyond recognition, there’s nothing wrong with editing food photos. A few enhancements can turn an okay pic into a stand-out.
Food photo hack: Cheong’s favourite photo editing app is Google’s Snapseed (available for both iOS and Android), the closest thing to Photoshop on your phone. Instead of relying on Instagram’s limited filters or editing options, use Snapseed’s tools to adjust colour (greener pistachios), contrast (more texture in that linen napkin) or highlights (get the gloss from the honey); “heal” blemishes (no more messy crumbs or dust); and more.

